Full Raw Metal: a peek at the science of squish
Back when I was in my early teens, I would fill notebooks with drawings of suspension linkages. Not having the money or connections to actually experience much that was out there, I was left to imagine how all of the pieces would work together, and imagine I did. Unsurprisingly, considering my age, I was especially fond of designs that involved lots of arms and maybe even some sliding members à la Mert Lawwill.
Over the years though, I found my way away from those designs and spent many years not thinking much of making my own full-suspension bikes. It didn't take a long time working in bike shops to develop a strong distaste for full-suspension bikes since what I saw of them was blown-up shocks, chunky pivot bearings, and poor pedaling performance. In recent years though, my interest has again be piqued, and that's what this is about.
Sometime in mid 2019, I decided that the time had come to get bouncy. I had left a job of 4 years the year before where full-rigid bikes was the thing, and wanted to branch out and see how the other half lived, as it were, so I started doing research: reading reviews, thinking about the bikes I had ridden, how I wanted a bike to ride, and figuring out how to make a full-suspension bike ride like that. I found software to help me iterate leverage curves and pivot placements, and I iterated...and iterated. Finally, I decided that with my limited machining capability, I really should start out as simply as possible, and that meant a single pivot with no rocker. I felt that the characteristics I wanted couldn't be achieved that way, but at the same time, knowing that there were some brands that were doing very well with similar designs (Starling being the main one), I figured it would be worth a try. No need to shoot for the undiscovered planet outside our galaxy when I could just shoot for the moon, or something like that.
Once I had decided on a design, I also had to decide on geometry. I had been listening to a lot of Chris Porter interviews, and wanted to see how long I could go. I wasn't willing to go quite as far as his philosophy might dictate, but I went fairly long all the same.
 |
| Building the front triangle |
 |
| Building the swingarm |
So after build a rear end by modifying my fork jig, and then cutting the miter for the main pivot after I had built the front triangle, I managed to finish the frameset at the beginning of February, 2020. I couldn't have imagined what the year had in store, but I hoped that it would involve some rides on my new bike, and in that regard I was not let down.
Because of my mass of drawings, I managed to cut the main pivot hole about 6mm away from where I meant to cut it, and that meant that my chainstays, which were meant to be around 445mm, ended up closer to 435. Other than starting out with a fork that didn't work very well, that was the biggest let-down initially. But even so, from the very first ride, I could tell that I had something special. Not only did the bike work, it worked really well! The bike pedaled really well, soaked up the bumps effectively, and it didn't even weigh a ton.
 |
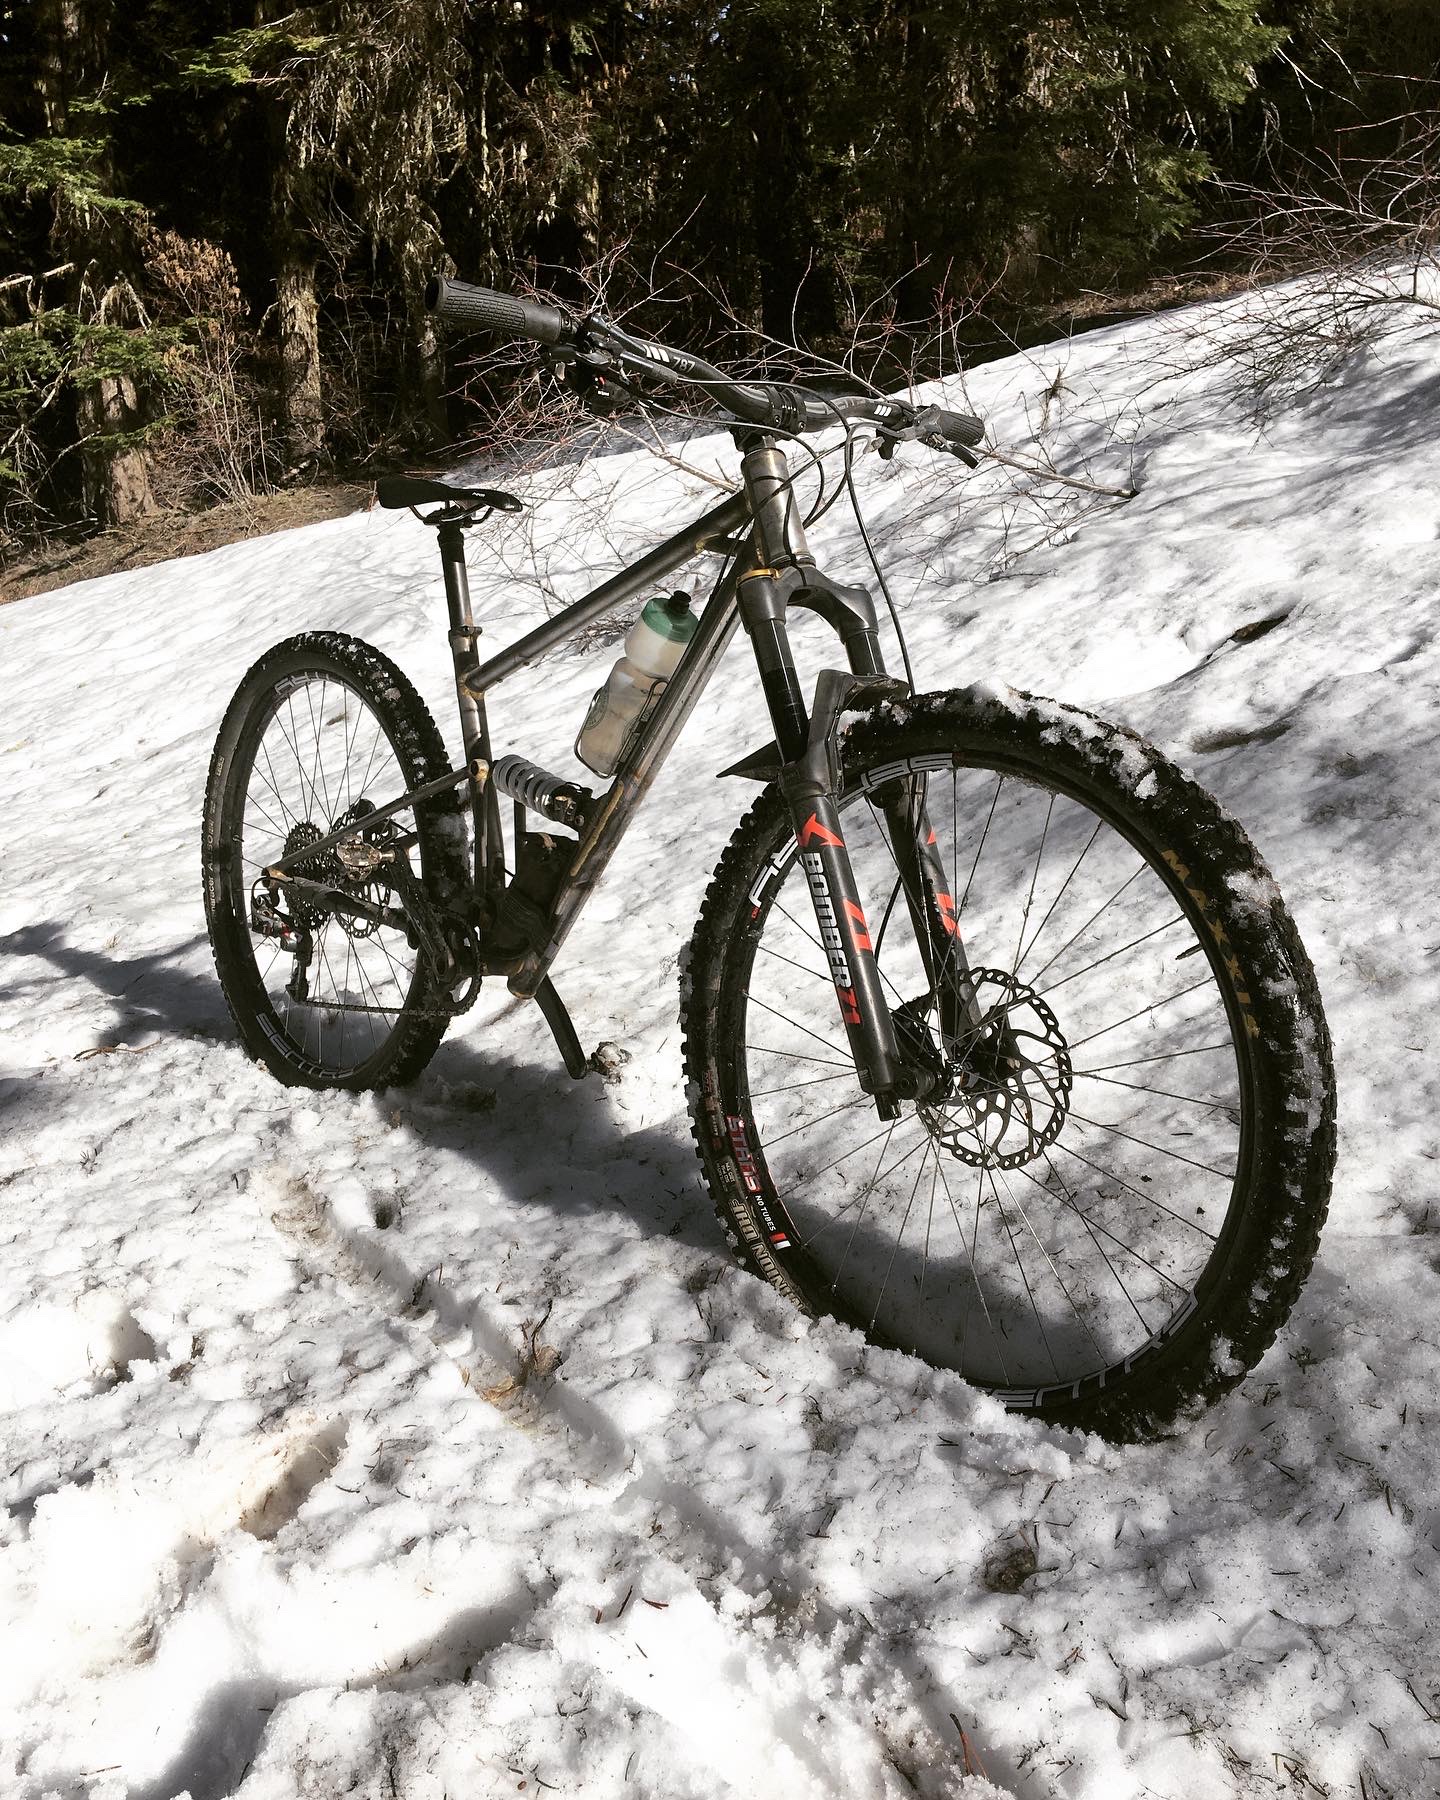
| The first build |
Because I started out with a fork whose main characteristics were massive stiction, flex, and super low ride height, I found my self struggling a bit with that part of the bike. Once I bought a Marzocchi Bomber Z1 though, everything changed. I also started out with a Cane Creek DB Coil IL with a progressive spring, which while it felt great, just didn't gel with the suspension layout because of how regressive the leverage curve was at the end of the stroke. I got a DVO Topaz T3 air, and packed the positive chamber with spacers and the bike resisted bottom-out much better without sacrificing much in terms of small-bump sensitivity.
And once I had gotten the bike mostly sorted, I had to learn how to ride all over again!
Over the course of the year, I found that the new bike allowed me to push the limits of my speed to levels I'd never considered before, and doing so, I found myself crashing quite a bit. In fact, I'd say I crashed more in the last year than in the previous thirty-something years that I've been riding combined. When you're riding at your limit, you're going to cross it quite a bit. Not that I didn't see that coming: I've been saying that I didn't want to get a full-suspension (or a motorcycle, for that matter) partly because I was concerned that I'd just hurt myself because I know that I like to go fast, and this bike just lets me go faster than other bikes that I've had.
But in the process, I have learned how to ride in ways that I hadn't before. I've learned to ride the front end much harder; I've learned to push into the turns to scrub speed and stay in control so that it feels like I'm skiing down the trail, and I've learned that on a full-suspension bike, you really can just let it rip through the rough stuff. Of course, I've also started running tire inserts too. This style of riding needs more support than most tires can give on their own, and having that extra solidity makes a really big difference.
Ride Impressions
So over the course of the year, I got the shock tuned, and found how to make the most of the bike, but I still found myself wishing that the rear end were longer. The frame has a 490mm reach, and that, combined with 436mm chainstays, was just too unbalanced. I noticed this most in berms (of which we have a lot), where it just felt like I had to ride the front end too much to really be able to pop out of them, and I could feel that just having a longer rear center would really help balance-out the bike. On more natural trails, where I was skiing a lot more, the shorter rear end worked because I found that I could just thrown it back and forth fairly easily, and so balanced traction wasn't so critical.
At almost a year in though, I decided that I wanted to see what a longer rear end would do, so I started on a new design that I hope would lighten things up, and increase tire clearance, while bring the chainstay length out to 450mm.
The new rear-end came together fairly quickly, even though I ended up scrapping a bunch of smaller pieces of tubing because of how challenging some of the mitering was, but in the end, because it was asymetrical, it got pulled out of alignment when I brazed-in the chainstay bridge that holds the two halves together. I'm sure that could be accounted for in a later version, but for this one, I was just glad that I had built it using Syntace dropouts, which allowed me to mostly account for the slight misalignment.
The new rear end was immediately noticeable less-stiff (though it was also 200 grams lighter), but also noticeably faster and more balanced. That said, with the 490mm reach being right at the limit of what I can handle, the bike was very hard to manual.
Almost immediately though, I rad into a tree that had fallen across a very fast section of trail with very limited sight-distance, and while everything seemed ok on first inspection, I noticed a couple of weeks later that my downtube had started to crumple just a little bit behind the braze on the bottom of the tube. I had used straight-gauge .035" 4130, and that tubing just softens quite a bit in the heat affected zone, so this isn't very surprising. Frankly, given how hard I had been riding the bike for the last year, I was surprised that I hadn't had something similar happen long before. At the same time, I noticed that I had managed to twist the frame a bit too. I think that happened in one of the ski-turns where the bike rear wheel just gets loaded sideways extremely hard and then released all of a sudden. The forces that a bike like this receives are huge, and frankly, riding it has given me more reason to think that my long-held suspicion that carbon fiber might be the ideal material for this type of bike is true.
But I digress....
Enter V2
So it was that only weeks after building a new rear end for the old front triangle, I started work on a new front end for the new rear end. That strikes me as funny.
This time though I had a lot more I wanted to do. I knew at this point that the basics of the single pivot design where sound, but I wanted it to be stiffer, stronger, and for the leverage curve to be more progressive. Without going to a yoke, which comes with lots of drawbacks (not the least of which for me is the absolutely abominable looks thereof), the amount of progression that's possible in a single pivot is very limited. I looked around at different designs again, and found the Orange 329, which was the closest to some of the designs that I was toying with, but in the end I just couldn't come up with a simple way of making a pierced downtube that would be light enough to be practical, and also still be strong, so I decided to go with a dropped-downtube.
I had considered doing a dropped downtube with the first frame, but had decided against it because it introduced more complication–and weight–into the design, and also resulted in a shock that pushed on the downtube in an orientation that was closer to perpendicular, which just seems bad from a strength and longevity perspective.
This time, however, I was comfortable in the role of scientist, and I didn't care how long it lasted. This time, I wanted to get to a design I liked first, and figure out the details later. And to digress for an instant, I'd say this is one of the biggest lessons I've learned from this whole process: you don't have to start with perfection. Start with something and go from there. So V2 is something, and the parts of that something are informed by what I learned with V1.
Some details
The dropped downtube would require a strong downtube, so I used something on the stronger, thicker side, but where the shock actually mounts, it's still thinner that the straight-gauge tube used on V1, so I made the shock mount reinforcement longer that the first one. The dropped downtube also allowed me to mount the tool pouch super-low. Now it's just in front of the bottom bracket in a low, and out of the way spot, so that's nice.

Dropped downtube, meet dropped top tube. On V1, I was limited in how low I could position the top tube on the seat tube because I used a thin, butted seat tube, but on this version, I used a thicker, bent seat tube with an insert in the top, which allowed me to lower the top tube as much as I liked. Bottom bracket center to top of seat tube went from 480mm to 420mm, so now the top tube is about parallel to the seat stays, which looks great, and gives the bike a lower overall feel, which I like. The old bike rode great, but I didn't think it looked great. The new one looks great too, and I like that.


Because in one of my early crashed on V1, I put a dent in the Reynolds 631 top tube, but overall like the ride, I went with a Reynolds 853 tube with the same dimensions. Being heat-treated and air-hardening I figured it would resist dents better in the thin parts, add a bit of stiffness, and just be strong overall. I also figured it would make a good based for the brace that I intended to put in between the downtube and top tube.

The brace was just intended to strengthen the front end, and hopefully help add another layer of defense against the kind of buckling that had happened on V1. I also like the way it looks, so that helps.

V2 Ride Impressions
I made V2 in 2.5 days before heading to Arizona for a few days, so it was a little rushed. I also managed to transpose a number from a drawing of the old frame that I shouldn't have, because while I was shooting for shortening the reach to 480, it ended up being 490 again. Rolling eyes emoji here. This was about the time that I decided that when it comes to my framebuilding, I feel like I'm a bit of a scientist, and a bit of an artist: I do my research, I do my drawings, and then I throw it all out in a sense and just build by feel. Not quite, but sometimes it feels like that, so I don't know if I should even try to be one of those builders who gets all of the numbers just so every time. Obviously I'm trying to convince myself of something here. Anyone buying it? Probably not.
So the bike doesn't manual any better than the previous one, but it is much more solid. It feels low and planted, and the new shock placement introduces enough progression to resist bottom out without the shock being pushed to its volume-reducer limits. It feels like the shock is much more in the middle of its range, and that feels good. This is also showing me that you don't need 30% progression. This is closer to 7%, and it feels great. So there!
In the many months since building it, I've ended up putting the Cane Creek DB IL Coil on it, and now with the progressive spring and this higher amount of progression in the frame, that shock feels amazing. It's crazy-plush and sensitive, but doesn't bottom out on most hits (I still went all of the way through the travel on an 8 foot drop to flat, but overall it's much more well-matched to the coil shock than V1 was.

Beyond that, I've decided that the first rear end design was better. It was heavier, but it was much stiffer, and that was better. The new one just feels too floppy, so I'll be going back to the old design on the next one for sure.
At the moment, I'm experimenting with a ready built frame to just expand my horizons and try to make some use of the fact that I work at a bike shop, but the first thing that has stuck out to me is that it doesn't ride as well as either V1 or V2 of this frame, and that makes me feel pretty good about what I came up with here.
I'm sure this story will continue, but for the moment, I hope this helps answer some questions, or get someone stoked to build some fun bikes!

Comments
Post a Comment